

We’re all spending more time inside lately and are finding out how tough that can be — especially for the kids. Now more than ever, kids need creative outlets to fend off cabin fever and keep their minds active and entertained.
With Easter right around the corner and many of us staying put for the holiday, we thought we would share some of our favorite Easter activities that you can do with your kids at home this year that are guaranteed to inspire and entertain.
And if you see an activity you like, but don’t have everything you need, don’t worry. We got you. Bartell’s has a huge selection of Easter provisions and now offers convenient, no-contact delivery services!
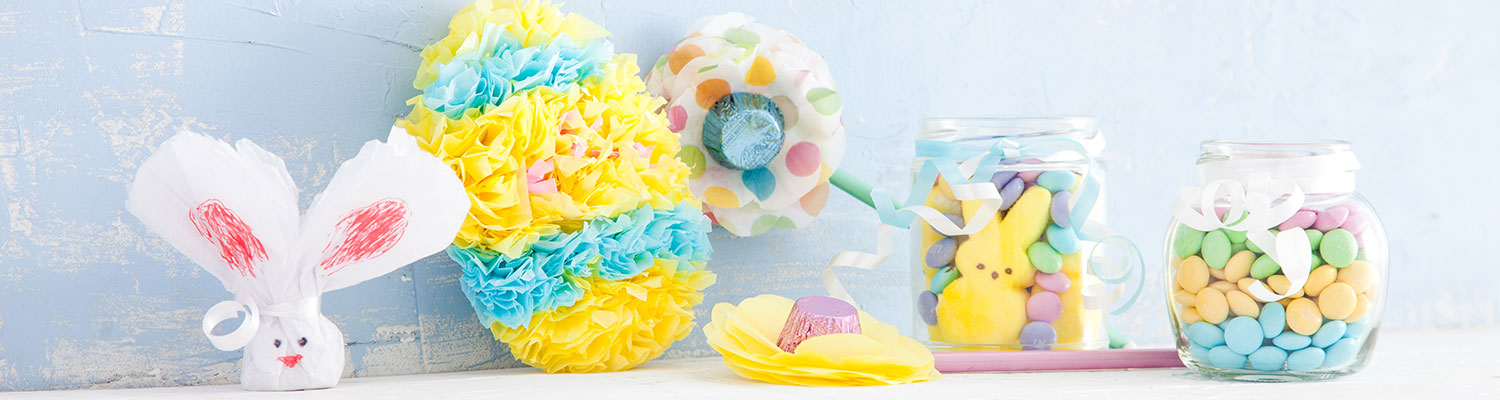
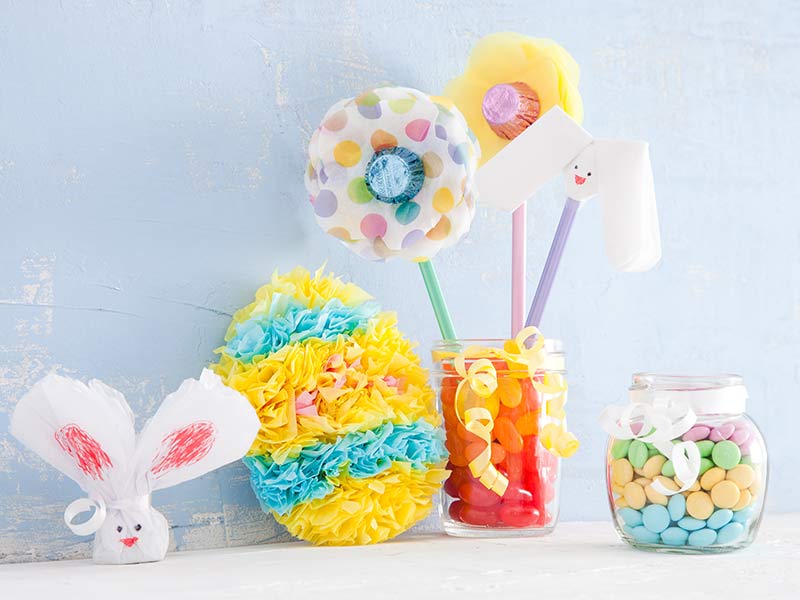
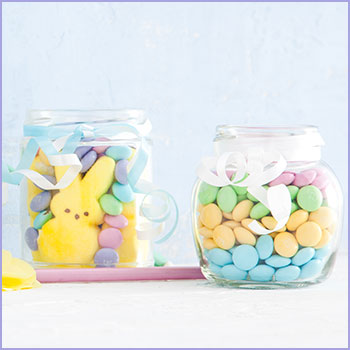 Easter Candy Mason Jars At the intersection of crafting and sweets lies a child’s happiness. That’s science. A great way to ensure your kid’s enthusiastic participation in this year’s at-home Easter activity is to plan something creative that includes a whole lot of candy. Step one, grab a few mason jars from around the house, and have the kids fill them with candy in fun patterns, or layers. Pastel M&Ms, Cadbury Mini Eggs, Jelly Bellies — and of course, Marshmallow Peeps — are both kid favorites, and seasonally on-point. Think layers of light blue, green, and pink M&Ms on top of a decorative Jelly Belly gravel. Or try pressing a few of the marshmallow Peeps up against the inside of the jars and filling the middle with Cadbury Mini Eggs or Pastel M&Ms. The possibilities are delicious! |
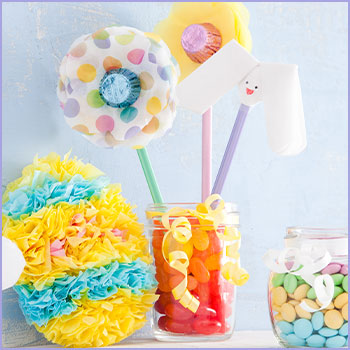 Tissue Paper Easter Cards and Pencil Toppers You probably remember making tissue paper art in class when you were a kid, right? Classics like between the “trace-your-hand turkey” and the “cupcake-liner spring flower” that allowed you to create what could only be described as a virtuosic tissue paper stain glass window! This Easter, why not introduce your children to this classic right-of-passage? Making egg-shaped tissue paper Easter cards is a great place to start. For this one, we set out craft supplies and different colored construction and tissue paper. We have the kids cut out egg-shaped cards from the construction paper then glue on decorative tissue paper blooms. Check out this great instructional video of the craft in action. We particularly enjoy its outrageously dramatic background music. Or try cutting out some classic Easter-themed shapes from tissue paper and taping them to the tops of pencils. Cutting out simple shapes, like flower petals or eggs, then decorating them with colorful marker is a great project for the younger ones. |
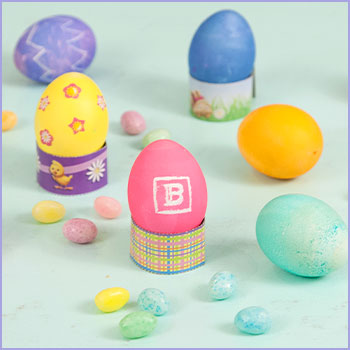 Decorative Easter Egg Hunt Another classic Easter activity that is sure to delight is the Easter egg hunt. There are so many things to love about this tradition: the egg decorating, the joy of watching the kids gleefully tear through the house like caffeinated bloodhounds, and of course, that wonderful fear that sets in when you realize the kids brought back one fewer boiled eggs than you hid and you just can’t remember all those great hiding spots. We do plastic eggs now. However, to keep the decorating tradition alive have the kids decoratively dye about a dozen hard-boiled eggs for display as a table centerpiece. Food coloring mixed with vinegar makes a pretty good egg dye, but we’ve also had success with store-bought dye kits (several Easter-egg dying and decorating kits are available at your local Bartell’s). If you want to skip the dye altogether, use stickers, markers or colored tape to unleash their inner artiste. |
Cotton Ball Spring AnimalsMaking crafty cotton ball spring animals is a great project for toddlers to teens. Grab some construction paper or extra paper plates and have the kids cut out shapes of their favorite fluffy animals. Bunnies, lambs, and spring chicks are perfectly appropriate shapes for the season, but we would also accept alpacas, Pomeranians, and chinchillas. Slap on, or carefully apply a little glue and cotton balls to breathe life into their 3D animal. Once they’re done with the body, they can use markers or paint to draw on eyes, noses, whiskers, scales, facial piercings… you get the point. Or you can splurge and buy some of those decorative googly eyes or a few colorful pipe cleaners if you want to step up your whiskers game. We like this tutorial for making a cotton ball bunny and this how-to on a crafty cotton ball Easter chick. |
Rice Krispies Egg NestsAt our house, we love to go all out for our Easter feast. We’re talking ham, lamb, homemade rolls, maybe a gratin or two… the list goes on. While we toil away in the kitchen making more food than a small army could possibly consume, we try to have something simple and unfussy for the kids to make alongside us. Having your kids make Rice Krispies egg nests is a great way to include the kids in Easter cooking. And the nice thing about these treats is that they don’t require any precious oven space — just a microwave, a few mixing bowls, and muffin trays. To make the nests, have the kids mix up a Rice Krispie treat batch with some green food coloring, spoon the warm mixture into muffin tins, and shape into nests. Once the nests are cooled, the kids can fill them with egg-shaped candy to complete the bird’s nest look. We typically use Cadbury Mini Eggs in our nests, but other spherical candies like Brach’s Classic Jelly Beans or Whoppers Mini Robin Eggs would work just as well. Here’s a recipe for these crafty treats from Kellogg’s if you need a little guidance. |
Classic Paper Plate BunnySupplies:
|
Create-Your-Own-Bunny
|
As you can see, there are so many ways to make this year’s at-home Easter feel special and fun for the kids. And even though a lot is going on in the world right now, we know that whatever you do, just being together, sharing some time with the family will put smiles on your faces and create happy holiday memories.
Remember we’re all in this together, so share some of the activities you’re planning to do with your family this Easter!