PNW Weather is a wildcard so provide a creative outlet AND have a festive Easter with our classic Easter crafts!
The materials are simple are likely already around your home, but If you don’t have everything you need, don’t worry. We got you. Bartell’s offers a variety of convenient delivery options!
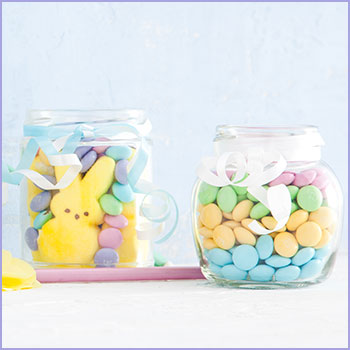
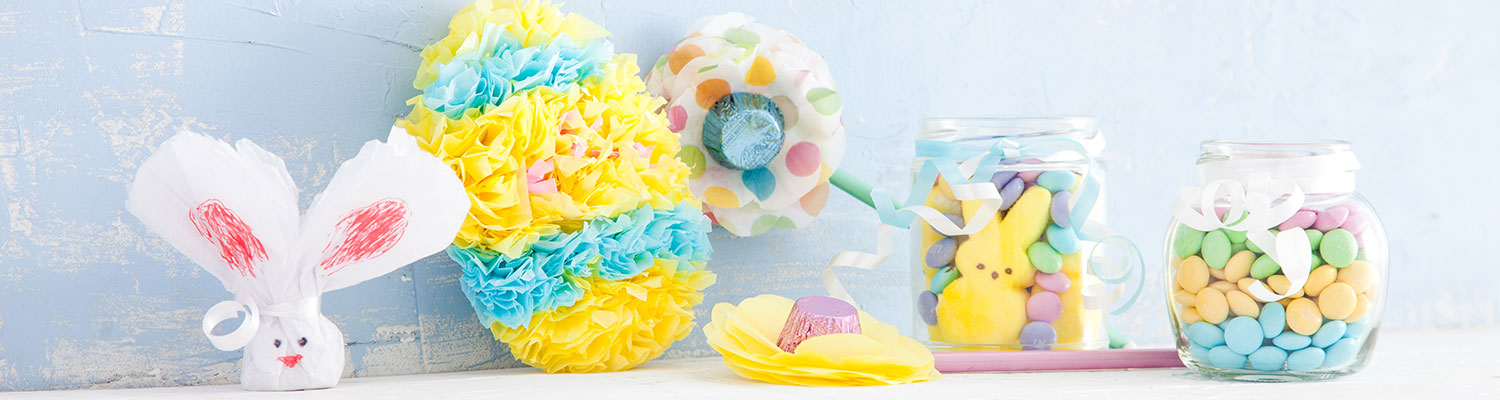
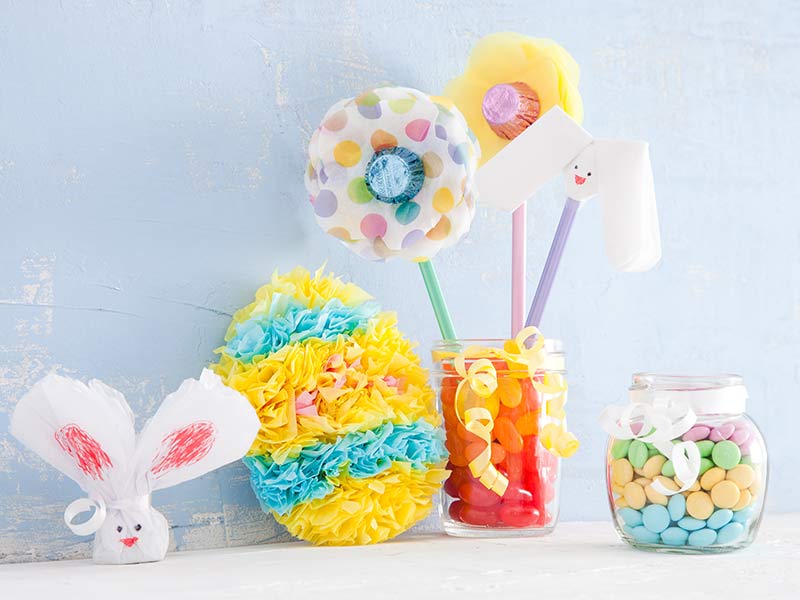
Easter Candy Mason Jars
Fill any sized mason jar with candy to make colorful layers or patterns. Pastel M&Ms, Hershey Kisses, Jelly Bellies — and of course, Marshmallow Peeps — are both kid favorites, and seasonally on-point. You could make a jar with pastel M&M stripes or jelly bean rainbows. Try pressing a few of the marshmallow Peeps up against the inside of the jars and stuffing the middle with chocolates of your choice.
The possibilities are delicious!
|
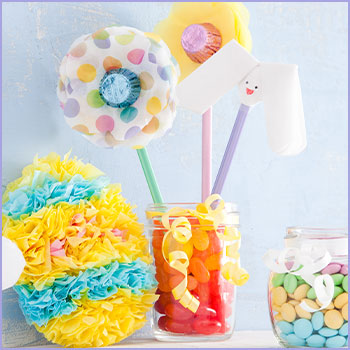
Tissue Paper Easter Cards and Pencil Toppers
Revive the art of tissue paper decorations with these delightful Easter cards. For this one, you’ll need multiple sheets of colored construction and tissue paper. Cut out egg-shaped cards from the construction paper then glue on decorative tissue paper blooms. Check out this great (and dramatically scored) instructional video.
Cutting out simple shapes, like flower petals or eggs, then decorating them with crayons, markers, and/or stickers is a great project for the younger kiddos.
|
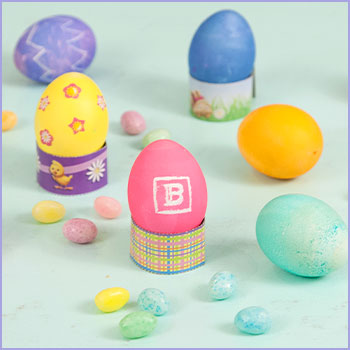
Decorative Easter Egg Hunt
Another Easter essential is the egg hunt. Infuse tradition with some “are you sure you found all of the (real) eggs?” practicality by making all of the dyed and decorated hard-boiled eggs for display purposes only. For the hunt itself, focus on treat-filled plastic eggs.
Even though we know the internet undoubtedly contains near-infinite recipes for do-it-yourself egg dyes, childhood nostalgia draws us to the tablets-in-vinegar simplicity of the store-bought egg dye kit.
Although some pens work reasonably well, we recommend using stickers to decorate and personalize the plastic eggs while unleashing their inner artiste.
|
Cotton Ball Spring Animals
Making crafty cotton ball spring animals is a great project for toddlers to teens.
Grab some construction paper or extra paper plates and have the kids cut out the shapes of their favorite fluffy animals. Bunnies, lambs, and spring chicks are perennial favorites, but we would also accept alpacas, Pomeranians, and chinchillas.
Apply a little glue and cotton balls to breathe life into their 3D art.
Once they’re done with the body, use markers or paint to draw on eyes, noses, whiskers, or whatever they can dream up. Step up your whisker game with pipe cleaners or other craft supplies you may have on hand.
We like this tutorial for making a cotton ball bunny and this how-to on a crafty cotton ball Easter chick.
|
Rice Krispies Egg Nests
Get the kids involved in your Easter feast! This easy recipe is a fun way for the youngsters to bring the delicious.
To make the nests, have the kids mix up a Rice Krispie treat batch (the recipe is on the box) with some green food coloring, spoon the warm mixture into muffin tins, and shape them into nests. Once the nests are cooled, the kids can fill them with small candies. We typically use Cadbury Mini Eggs in our nests, but other spherical candies like Brach’s Classic Jelly Beans or Whoppers Mini Robin Eggs would work just as well.
Here’s a recipe for these crafty treats from Kellogg’s if you need a little guidance.
|
Classic Paper Plate Bunny
Supplies:
- Paper plate(s) for the bunny’s face. White is standard, but it’s your bunny so pick one that suits you.
- Posterboard or heavy construction paper for the outer ear
- Construction paper or crayon/marker for the inner ear. Pink is standard, but any color that will compliment your plate choice works.
- Pipe cleaners – black and pink are standard for whiskers and month outline.
- Scissors
- White Glue
- Markers
- Pompom (optional)
- 2 googly eyes (optional, but c’mon, who doesn’t like googly eyes)
- Cotton balls (optional)
|
Create-Your-Own-Bunny
- Cut out two ears from the poster board. I like to make them just a little longer than the diameter of the plate I’m using.
- Cut out two smaller ears from the pink construction paper. These will be the interior of the ears so consider the shape of your ears when creating them.
- Glue the inner portion of the ears to the larger outer cutout, or color the inside of the larger ears your desired color.
- With the paper plate where-the-food-goes side up, glue the ears to the top of the plate with the inner part is facing the table.
- Turn the paper plate over.
- Optional steps for fuzzy faced variant
- Cover the plate with glue. Bonus tip! Use your finger or a paintbrush to evenly distribute the glue)
- Use the cotton balls to cover the plate.
- Glue the googly eyes, pompom (nose), and pipe cleaners on to construct the face of the Easter Bunny.
- Bend the pink pipe cleaner into a roughly 3 shape to form the bunny’s mouth and glue it under the nose.
- Optional: Use crayons and markers to create additional embellishments.
- Bonus Option: Cut a bowtie out of construction paper and glue it to the bottom of the plate below, aligned below the bunny’s nose.
|
And there you have it! We hope you found our suggestions helpful and wish you and yours a blessed Easter!